System Administration → Transaction Type
Transaction Type
The Transaction Type screen is where you will define the transaction types available throughout the RoboDX™ system (Fig. 1). For instance, when creating a new template, one of the option fields requires that you choose the type of a transactions an inbound or outbound file is expected to contain. The options that you have to choose from are created here.
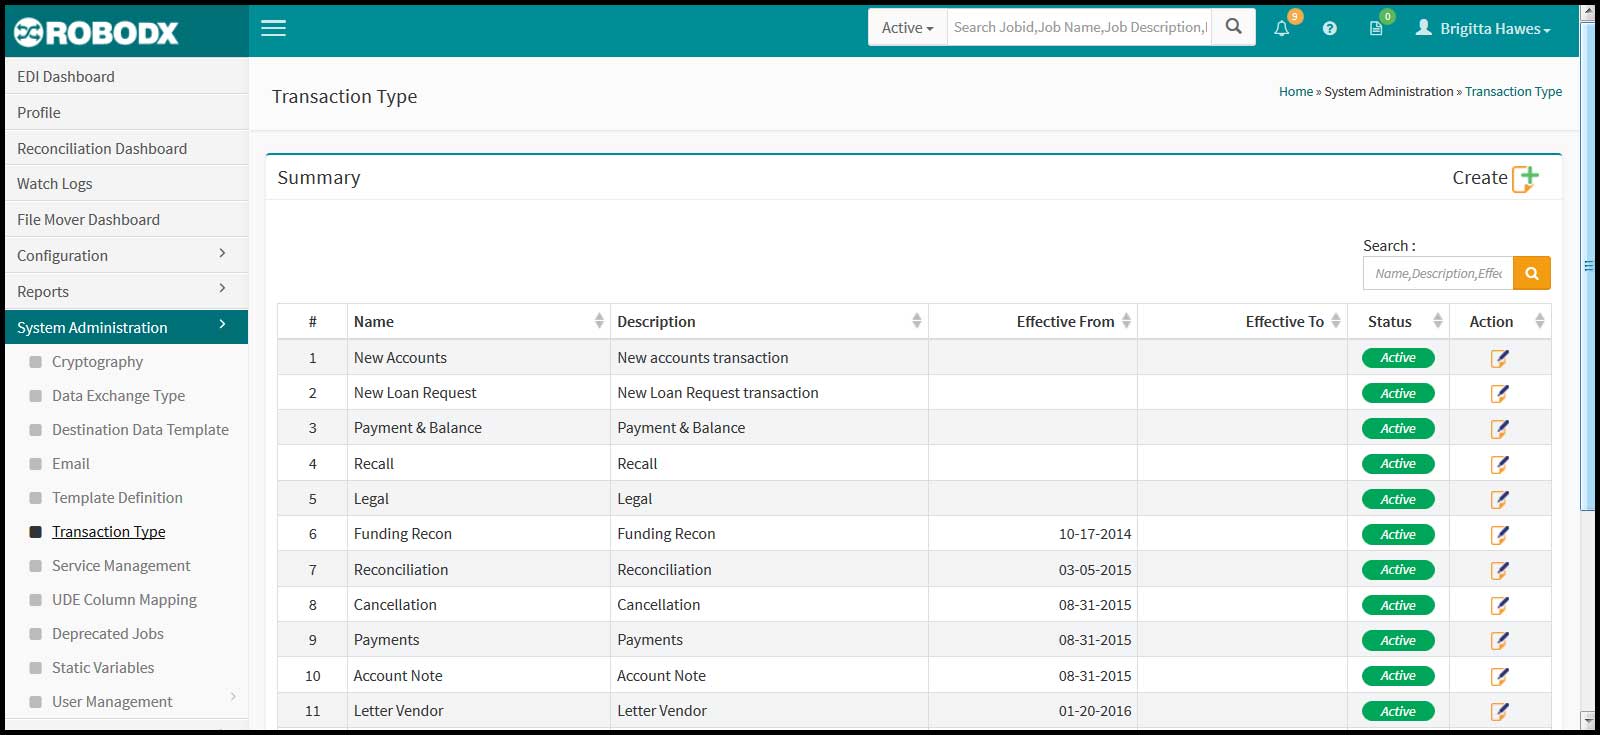
[Fig. 1]
Table Columnar Definitions
- #: Table row number.
- Name: Name of the transaction type.
- Description: Description of the transaction type.
- Effective From: Start date that the transaction type will be available throughout system.
- Effective To: End date that the transaction type will be available throughout system.
- Status:
- Active: Trasnaction type is active if there is no stated Effective To date or a past date in the Effective To field.
- Inactive: If the Effective To date is a date in the past, the transaction type should show as Inactive, which means that it is no longer available throughout the system.
- Action: Clicking on the edit icon in the Action column for the Transaction Type you would like to edit opens up the Transaction Type Update screen for that transaction.
Add a Transaction Type
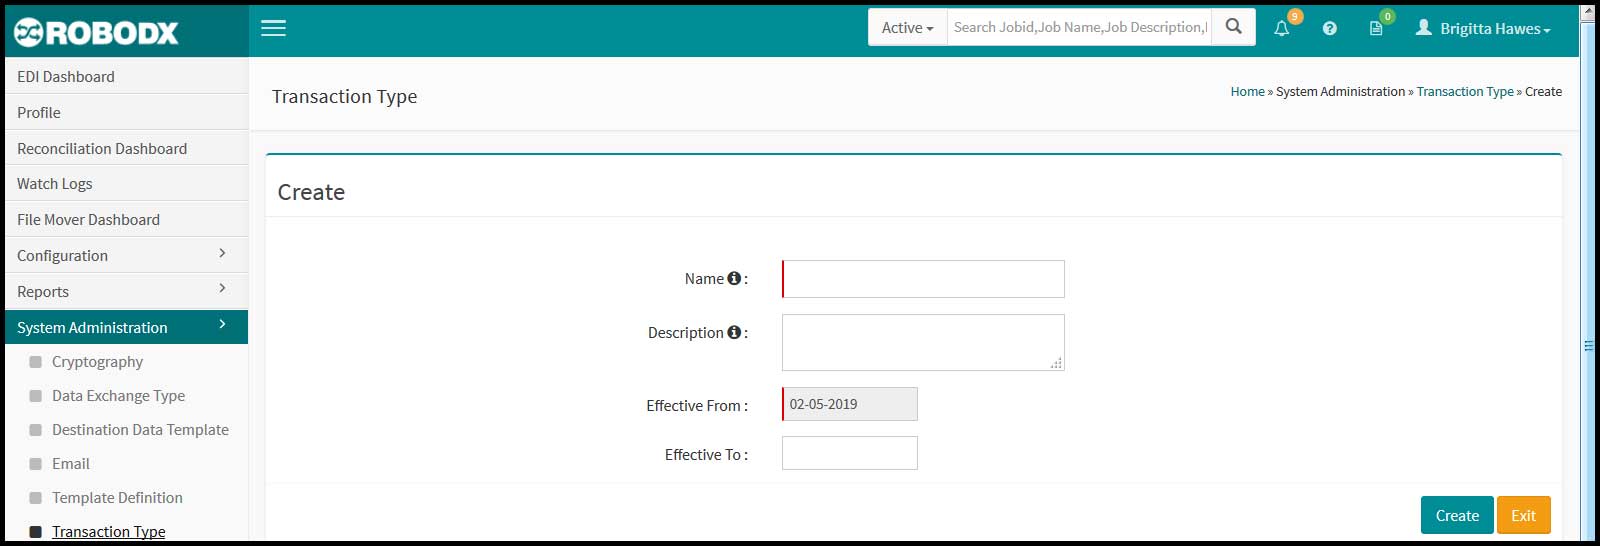
- Click on the Create icon located in the upper-right corner of the screen. The Transaction Type Create screen appears (Fig. 2).
- Fill in the following fields:
- Name: Name of the transaction type.
- Description: Description of the transaction type.
- Effective From: Start date that the transaction type will be available throughout system.
- Effective To: End date that the transaction type will be available throughout system.
- Button [Create]: When done entering information, click on the Create button to save your new transaction type. It should now be visible in the transaction type table.
- Button [Exit]: Click on the Exit button to exit the creation screen. Your transaction type will not be saved.
[Fig. 2]
Edit a Transaction Type
- Click on the edit icon in the Action column for the Transaction Type you would like to edit. The Transaction Type Update screen opens for that transaction type.
- Edit as needed.
- Button [Update]: When done editing information, click on the Update button to save your changes.
- Button [Exit]: Click on the Exit button to exit the update screen. ANy changes since your last save will not be retained.